Face masks and other things!! Aka BUSY!!

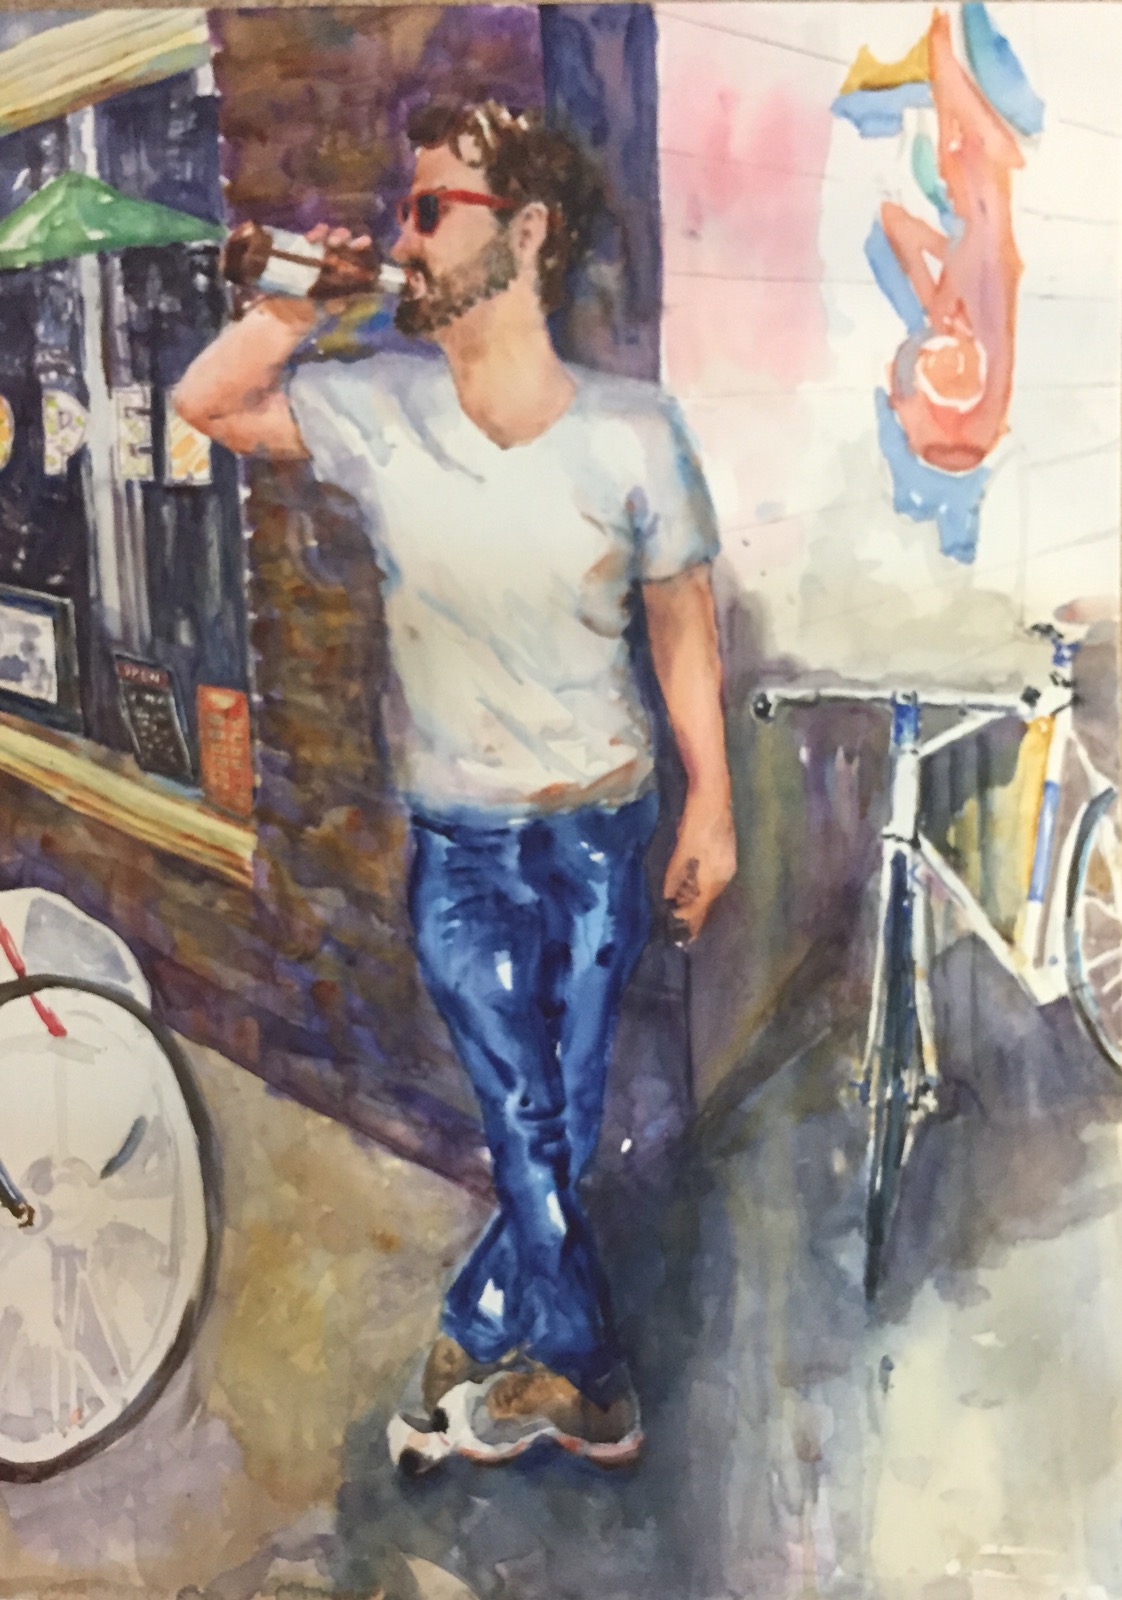
From last weeks urban car sketching.

Spent yesterday starting to make masks because if they work for medical people they will protect the ones I love from the virus too.

Don’t believe for a minute you don’t need one when You go out.

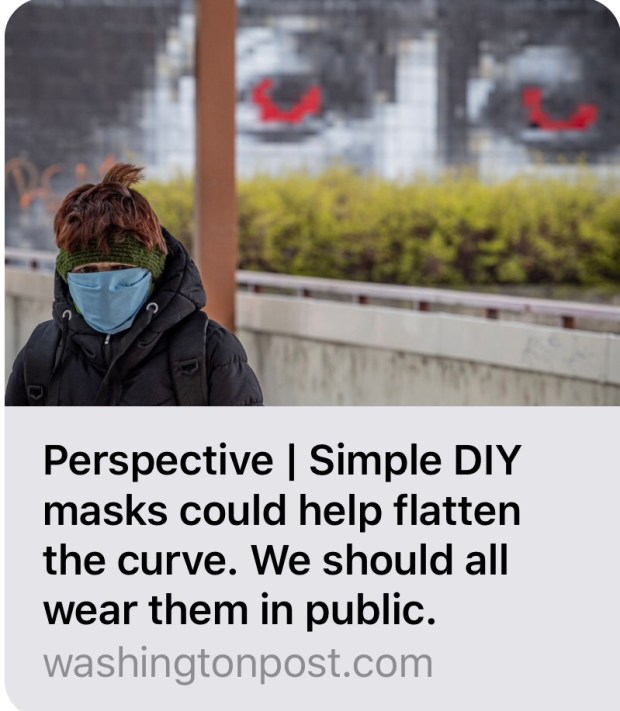
Here’s the article!!

I am ripping up filtrete filters with merv 1900 -2200 rating which is really good for masks but u can also use hepa vacuum filters. Just try not to puncture them.

Other fabrics you can use for filters.

You can use duct tape and staples scotch tape masking tape to make the folded accordion style masks. And add ribbons or scraps of fabric for ties. Get creative. Masks patterns are all over the internet.

And no elastic!? Cut strips across your T-shirt’s width about an inch wide. Pull on each end of them. You get spaghetti t-shirt strips perfect for ties.

I made this large pile of ties in minutes. Hmm leftovers. I could tie tomato plants up with them. If I had tomato plants. 🤣😂

So get busy. Some glitter might be a good finish!!
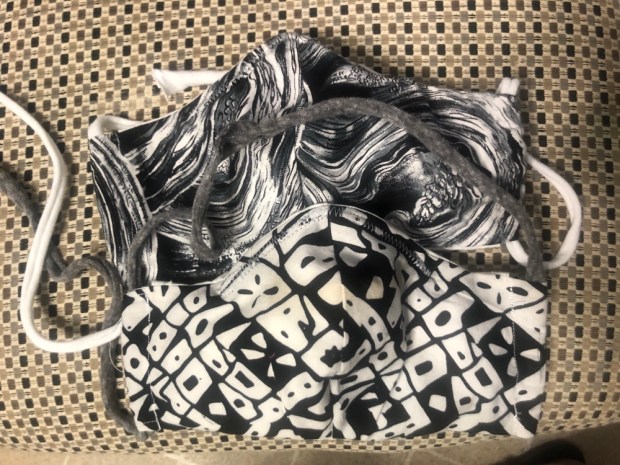
Two face masks for my son with bad asthma. Taken two days of ripping and cutting. One day of washing drying fabric. Omg! And I have 53 to make. 😖😖😖

Stay well!! Love you guys!

Margaret who will post art later today after I get the bread out of the oven.

Day 431 – Two point perspective Trick(TIP)

  is tough to say the least. And mine was confused on this painting. The bricks were off especially above his head. Oops!! 


 Al Beyer showed me a technique that is easy to do when you have two point perspective, i.e. perspective with two vanishing points. 

  The vanishing points are to the right and left of the painting on the horizon line which runs across the top of the OPEN letters. 

ALL parallel lines should converge at the vanishing point. The runs of bricks make up these parallel lines as do the top and bottom of the window and the bottom of the OPEN letters. 

So how to get them done correctly.  

 Get a piece of paper. Lay the straight  edge along the horizon line. Then fold the bottom edge up to follow  parallel line. I chose the window sill. 

  This is the order you fold the paper in.  

 Match 1 to the horizon line to get fold 2. Of course you can’t see 1 now!!  

Here it is on the painting. 

  Make fold 3 by matching up fold 2 with the horizon line. 

  Then make fold 4  by folding the paper in half between the bottom fold and the #2 fold. 

Ideally before you paint match the horizon line on your folded paper with the horizon line on the painting draw along the folds with a watercolor pencil to transfer the lines to your painting.

Flip the paper with the horizon line on the bottom edge  to get the top lines. 

Some thinking is required. And the whole thing reverses on the right side to complicate your life. 😳  


What you end up with looks like this. The lines were drawn with a brown watercolor pencil. The horizon line comes off of his shoulder.


Let me know if you have more questions. I will try to answer them. Thanks for reading. 

Margaret xxx