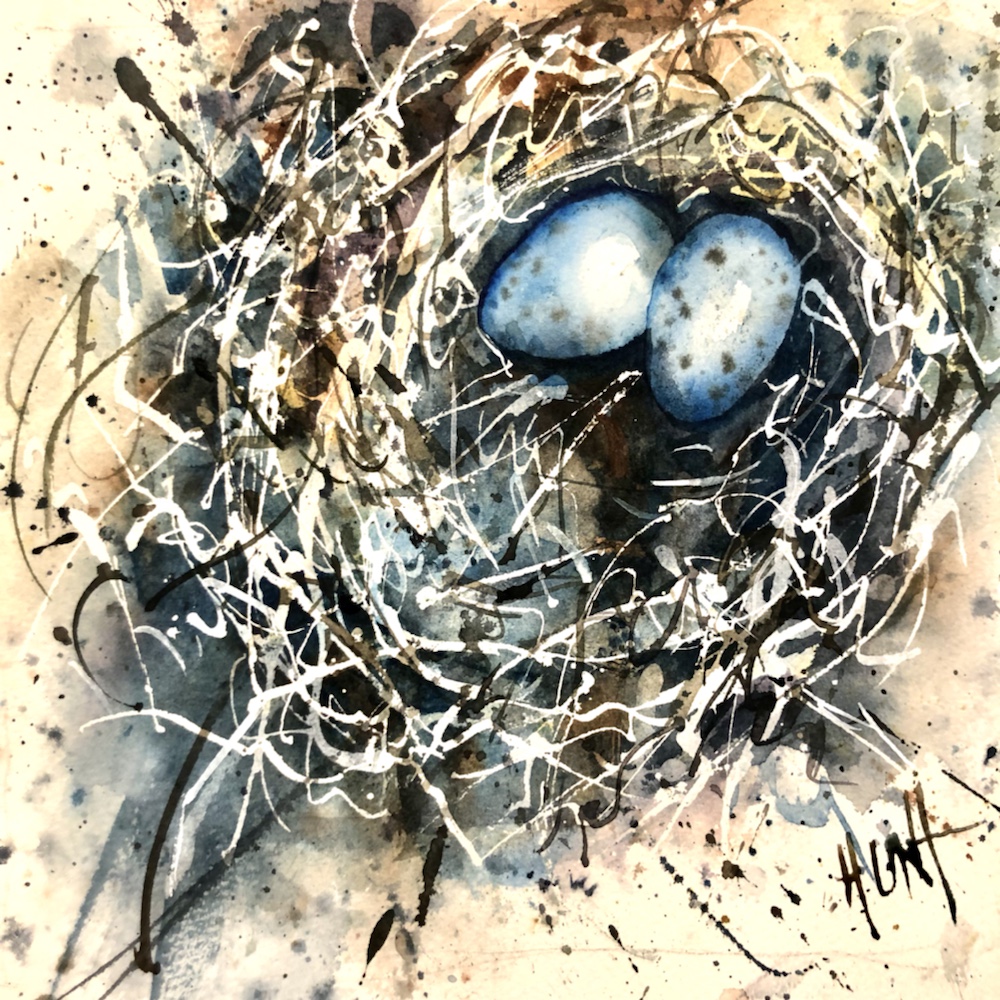
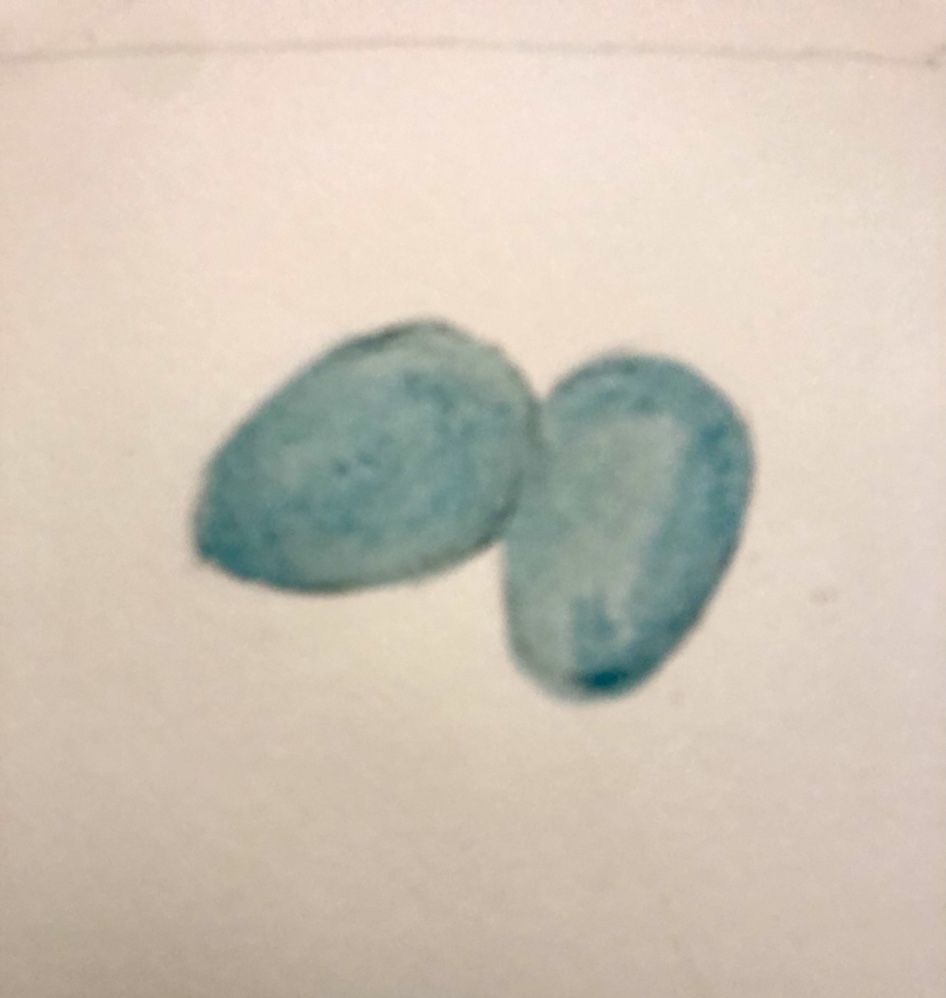
From a fun paint along with the delightful Berskshire, England artist, Liz Chadderton, on Shopkeeparty.com. She’s always a lot of fun and brimming with ideas, tricks, and tips. Plus she loves to paint any and all animals. I wish I had her energy! We started by drawing eggs off center in the sweet spot. 1/3 up and 1/3 from edge. Used a piece of rough arches. Next we applied masking fluid to our eggs.. Then we drew the nests and applied more masking fluid. I used a bamboo stick. Masking will ruin your good brushes so NEVER use it on them. Then we applied a light layer of watercolor using our chosen colors. Liz said to only use 6 colors. You never needed more than that.
Mine were indigo, Thalo blue, Prussian blue, burnt umber, Payne’s grey, and moonglow. I finally added raw sienna. I needed a lighter earth tone. Then we dried it added more masking fluid for more sticks and added a middle tone layer. As usual I went a little dark.
Hair dried a lot of masking fluid today. Something ideally you should never do as it makes it tough to remove.
More masking fluid added and dried then the darkest color. I tried using Q-Tips to put the masking fluid on. DONT. Yuck.
Lots of blobs of masking were what the teacher ordered. They take a while to dry. Then we rubbed and rubbed and rubbed off all that masking. Now it’s too white. So we used a rigger, in my case a Cheap Joes Scroogys Loose Goose brush. Don’t you love the name? It’s really a slim dagger brush. Makes the best curls and swirls. And terrific curly hair. Last we added more color to knock out some of the whites. Mine were a little over powering. I also used my loose Goose to sling lines aka brushes on it.
I also dipped my Loose Goose into some Winsor Newton white gouache to add a few more pieces of straw and curly bits where I didn’t have any. Bet you can’t tell where I did that.
This class is available for purchase on Shopkeeparty soon if you would like to try your hand at a nest or one of Lizs other classes. All are available as video on Shopkeeparty.com.
My friend Mike and I usually go to Cheap Joe’s to take a class and paint together but all that has gone virtual with covid. She had signed up for a class with Don but it had canceled early in the epidemic.
When he posted a zoom class we decided to have a virtual get together and paint with Don. He does these every other month or so. Scroll down to the bottom of the page to see what he’s up to.
Class evaluation. Don has been teaching at Cheap Joe’s for years. Several of Cheap Joe’s American Journey watercolors are named for him like one of my favs Andrew’s turquoise.
Anyway Don really knows his subject matter and explains it well. Has great class paceing allowing plenty of time for drying the watercolor and breaks. Technology has greatly improved since he and his wife started. He also allows plenty of time for questions after class plus access to the class video for a year on Vimeo.
We started by doing small samples of what he calls granulated washes. You start off wetting the paper then adding colors one by one and letting them blend together. This is on Arches 140 rough.
There’s another word for them – is it ombré washes!? But can’t think of it off the top of my head.
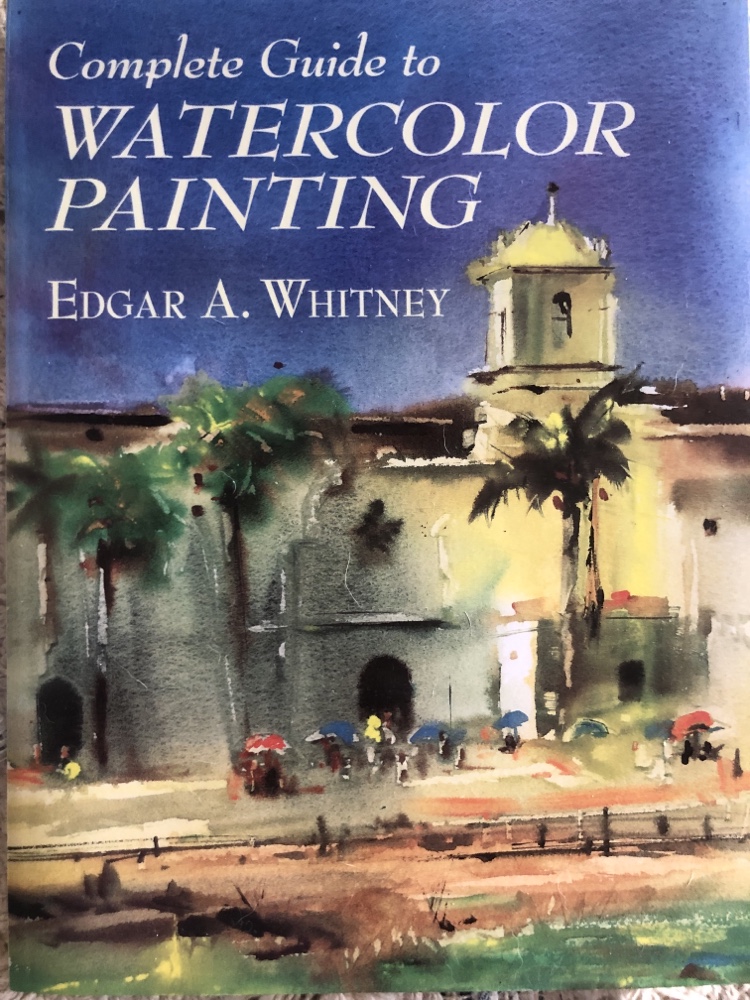
First layers of Mountains in Guatamala I think. The class was about Granulation which he calls his wet on wet technique. He said he thought he got that term from Edgar A Whitney who taught all the older watercolor painters back in the mid twentieth century. The technique is very similar to Whitney’s as you can see if WordPress ever lets me post the photo. I got this book quite cheaply used on Amazon. Finding the new word press format oh so annoying still and cumbersome compared to the old format. I find “Improvements” in technology frequently make my life more annoying not less. Thanks for listening to me whine.
I checked Whitney’s book. These are called graded and granulated washes in his book. Two types.
Whitney has some of the best explanations of washes in his book.
The graded wash-Done on paper flooded with water the graded wash is an even gradation of color dark at the top almost white at the bottom. Also called ombré.
The granulated washes are done by flooding with plenty of water. Then tilting the paper back and forth “letting the pigment settle in small basins in the paper.”
This might be a pic of the mountains finished. I really should check.
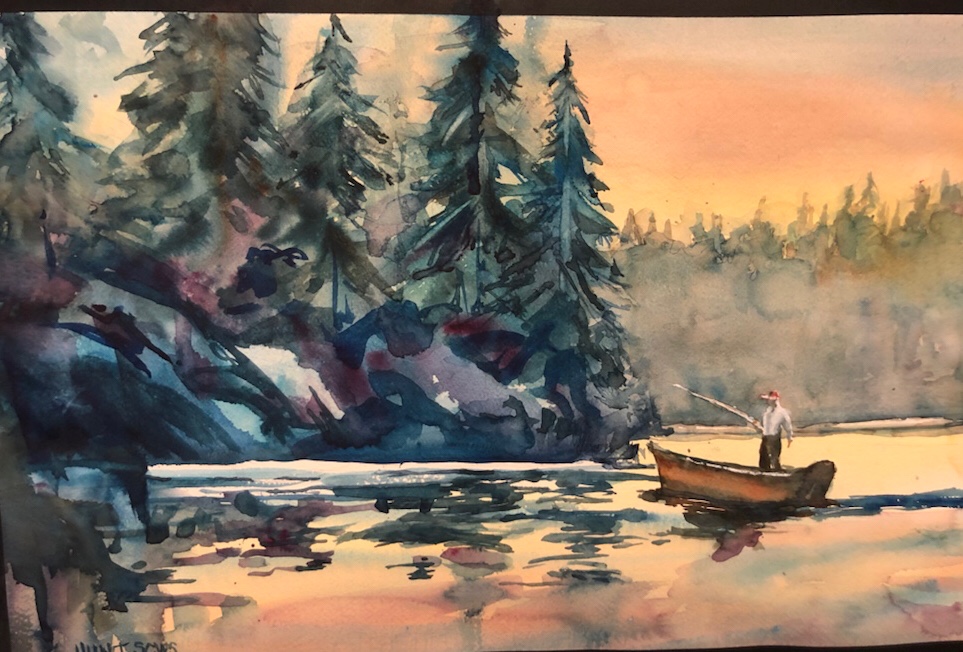
We started with the sky and water wash. Then we dried it.
Then the far background trees and some on the left which I managed to paint out. Oops.
Then we dried it. Notice a repetition here?? Everything is quite sloppy wet using this technique which can be quite fun.
Last layer was applying the darkest darks. And the boat. All the reflections.
Would I take another class from Don. Definitely. I find some watercolor painters just hurry hurry hurry they the class leaving no time to catch up with the teacher or to dry the watercolor. NEVER a good thing trying to paint on a still damp watercolor.
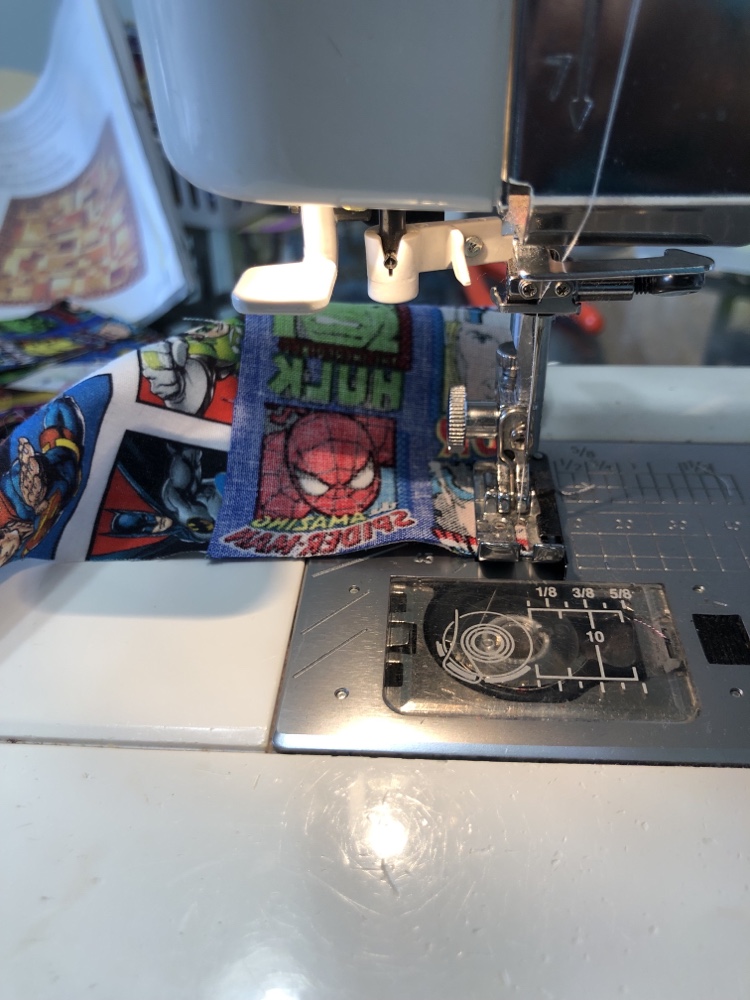
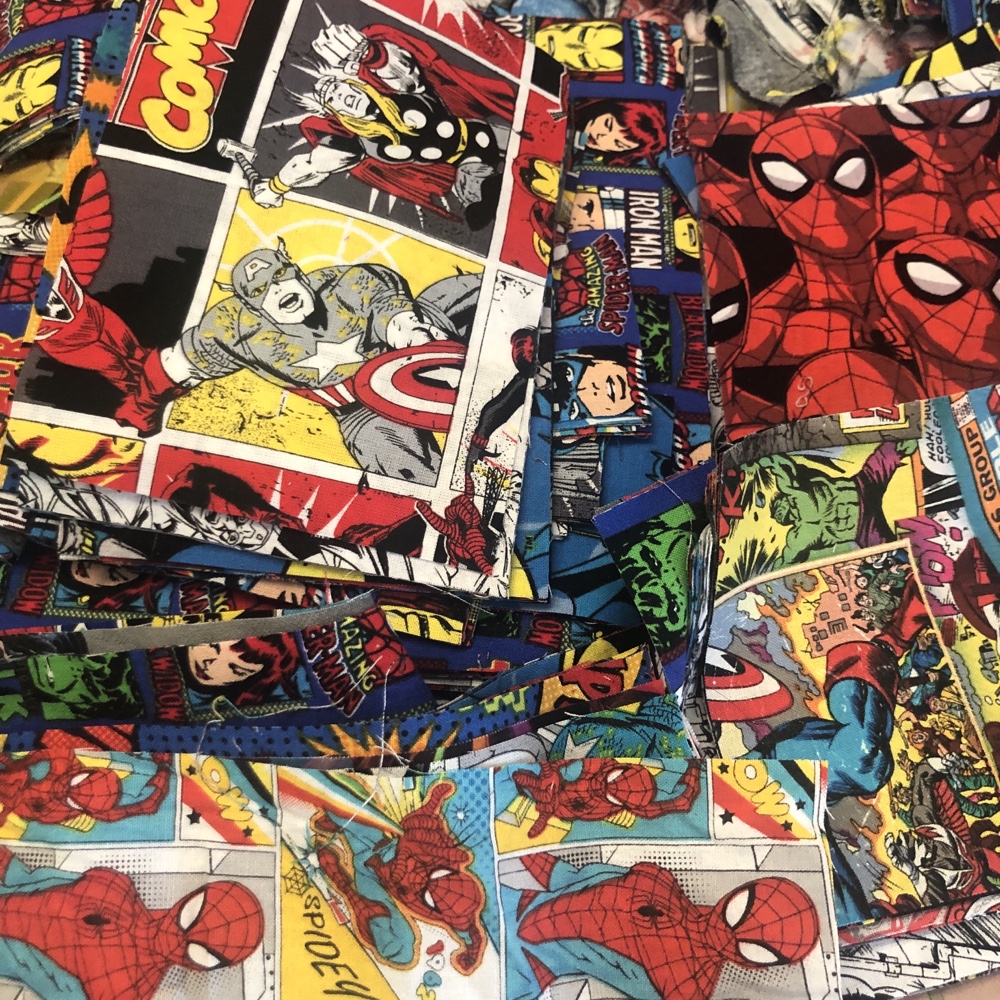
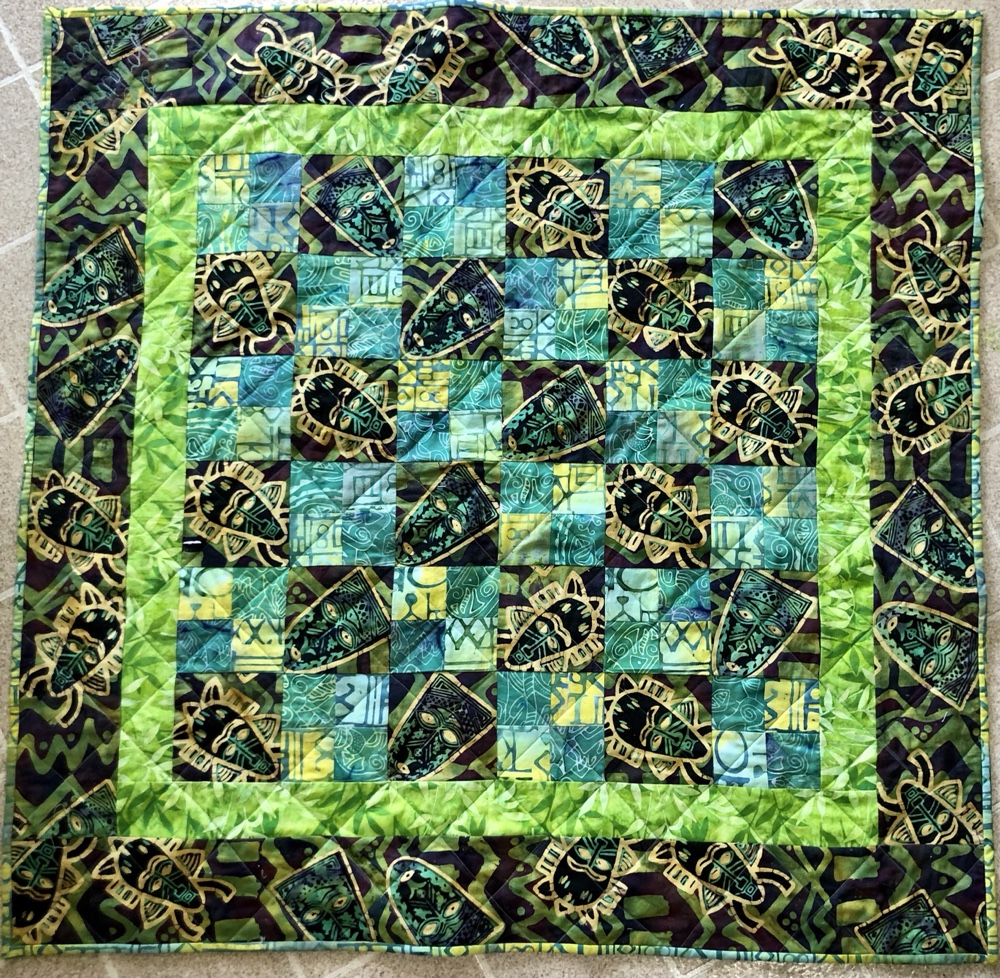
That said now I am off to sew. Been madly making quilts for babies and for my grandkids for Christmas. This is Henry’s superhero quilt.Cece and Mikes quilt for sweet Julianne These are small quilts about forty inches square. A tiki inspired quilt I made for a friends new grand baby. Her daughter loves tikis and loves this quilt a lot. evidently she had always wanted a quilt so was delighted when she pulled this one out of the mail.
One for my new granddaughter whose due Dec 21. What do you bet she gets a Christmas quilt too?!!
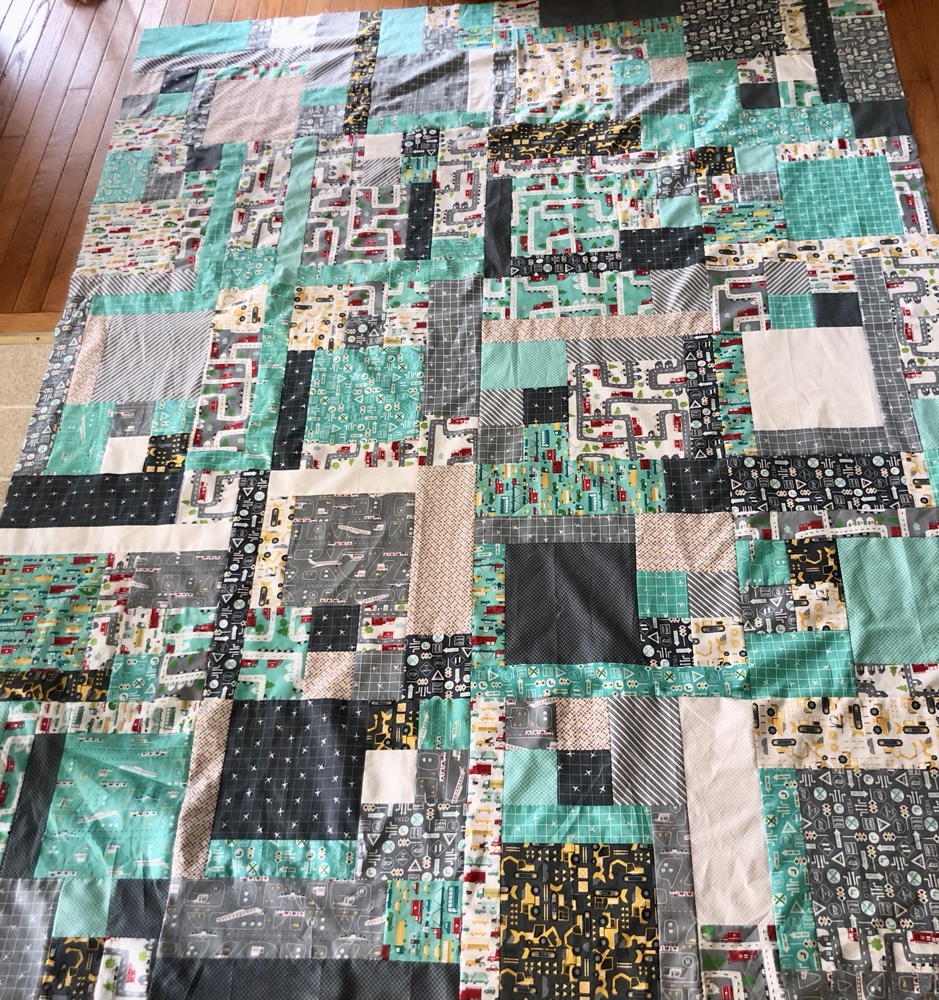
Her big brother David out of his crib now hers and in his big boy bed. He needs a new twin sized quilt. Today’s project to get it the quilt sandwich pinned together and start the quilting which will be a BIG job.
Hugs Margaret who needs to finish her morning caffeine. Xoxoxo